

A Detailed Guide On How To Use An Animal Microchip With A Syringe
Mar 04, 2026
Leave a message
You already know how to implant a microchip. Subcutaneous, between the shoulder blades, ten seconds, done. That part is simple.
What probably brought you here is a different question: where to source them, what specs actually matter for your operation, and whether the price gap between a $3 domestic chip and a $0.40 OEM chip means you're getting something worse-or just paying for someone else's margin.
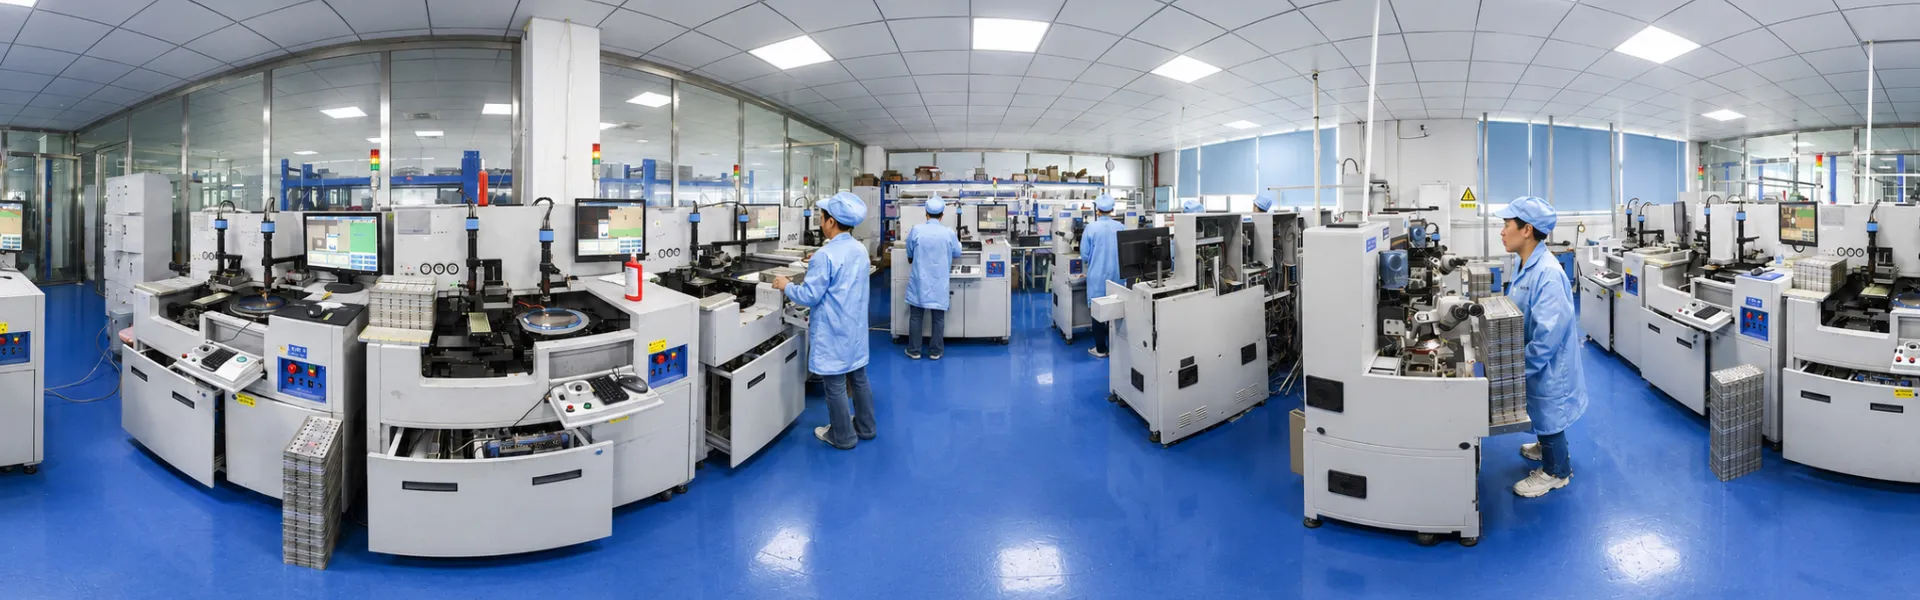
We manufacture animal microchip syringes. Have been since 2006. So let me walk you through this from the production side, because frankly, there's a lot of mystery in this market that doesn't need to exist.

The Specs That Actually Differ Between Suppliers
Every ISO-compliant microchip does the same thing. 134.2kHz, FDX-B protocol, 15-digit unique ID. Scanners at any shelter or vet clinic will read it. So what's the difference?
Glass quality. The industry standard is Schott 8625 bio-glass-same material used in human medical implants since the '90s. Some manufacturers use off-spec glass to save a few cents per unit. You won't notice the difference at implantation. You might notice it three years later when chips start failing reads. We use Schott glass. Ask your current supplier if they do. If they hesitate or give you a vague answer, that tells you something.
Sterilization method. This one catches people off guard. Animal microchips must be EO (ethylene oxide) sterilized-not gamma irradiated. Gamma radiation wipes the EEPROM where the chip ID is stored. The chip arrives blank. Looks fine, scans empty. We've had distributors come to us after discovering entire batches from other suppliers were unreadable. Always confirm EO sterilization, and look for the yellow indicator on the sterile pack. Every unit we ship has it.

Anti-migration coatings. Some chips migrate after implantation-not often, but it happens. UK veterinary data from 2014-2015 showed migration was the most common adverse event reported, though still rare overall. Two approaches exist: porous polymer caps that encourage tissue adhesion, or parylene-C coatings that bond chemically. We offer both options depending on what your market prefers.
Needle gauge. Standard 2.12×12mm chips require 12G needles. That's significantly larger than typical vaccine needles (18-22G), which is why some animals react more to chipping than to routine shots. If you're working with smaller breeds, exotics, or younger animals, 1.4×8mm mini chips with 15G needles make a real difference in patient comfort. We produce both. The mini chips have slightly shorter read range, but for companion animal applications, it's rarely an issue.
Understanding Gauge Numbers: What the Sizes Actually Mean
Most animal microchips are implanted using either a 12-gauge or 15-gauge needle, depending on the chip size. The standard 2.12×12mm transponder requires a 12G needle with an outer diameter of about 2.77mm. Mini transponders (1.4×8mm) use a 15G needle at roughly 1.83mm. Both are significantly wider than the 20-22G needles used for routine vaccines, which is why proper technique and needle quality directly affect patient comfort during the procedure.
If you've compared microchip suppliers, you've seen 12G and 15G thrown around without much context. Here's what those numbers translate to in practice.
A 12-gauge microchipping needle has an outer diameter of approximately 2.77mm. A 15-gauge needle for mini microchips measures about 1.83mm. For reference, the needles your clinic uses for routine vaccinations typically fall in the 20-22G range, which means an outer diameter under 1mm. So even the smaller 15G microchip implant needle is still roughly twice the diameter of a standard vaccine needle.
That size gap matters when you're choosing inventory for a mixed practice. Clinics handling mostly adult large-breed dogs often standardize on 12G syringe assemblies because the thicker needle seats the standard 2.12×12mm chip reliably in deeper subcutaneous tissue. But if a meaningful portion of your patients are cats, toy breeds, or juvenile animals, stocking a 15-gauge microchip syringe for the 1.4×8mm chip gives your vets a noticeably less invasive option. Some of our distribution partners carry both and let the practitioner decide at the point of care.
From a procurement standpoint, gauge selection also affects per-unit cost. The stainless steel cannula on a 15G assembly is precision-drawn to tighter tolerances than a 12G, which adds marginally to manufacturing cost. On bulk orders above 5,000 units, the difference is usually under $0.08 per syringe. For most buyers, that premium is negligible compared to the clinical flexibility it provides.
What We Actually Offer
ICAR-certified production across three chip sizes: 2.12×12mm standard, 1.4×8mm mini, and 1.25×7mm for lab animals. CE marking. ISO 9001 facility. Full documentation package available before you order-not after you've already committed. That includes ICAR conformance test results, CE declarations, and EO sterilization validation. Usually ships within 48 hours of request.
An animal microchip syringe is a single-use, pre-loaded injection device that contains both the needle and the transponder chip in a sealed sterile package. The practitioner removes the needle cap, tents the skin at the implantation site, inserts the needle subcutaneously with the bevel facing upward, and depresses the plunger to deploy the chip. After withdrawal, the site is scanned to confirm a successful read. The entire process takes about ten seconds. Unlike standard medical syringes, a microchip syringe is designed for one deployment only and should be disposed of after use.
Each syringe ships as a sealed, pre-loaded unit. The needle is siliconized stainless steel, which reduces tissue drag during insertion and keeps the bevel sharp through the packaging shelf life. We test plunger deployment force on a per-batch basis: the target is consistent, one-handed actuation with a clean release. If you've dealt with syringes where the plunger sticks or the chip doesn't deploy fully, that's usually a tolerance issue in the barrel molding. Our QC catches those before they ship.
For operations running high-volume microchipping events, we also supply implant-gun-compatible needle cartridges. These load faster than individual syringe units and reduce handling time when you're chipping 50+ animals in a session. The cartridge format uses the same needle gauge and sterilization protocol as the standalone animal microchip syringe, so there's no difference in implant quality.

Our standard turnaround: 3-5 days for stock items (we keep ~50,000 units on hand across all configurations), 15-25 days for custom orders. Rush is possible when you need it-we've turned around orders in 10 days when clients faced unexpected demand or regulatory deadlines.
On pricing-look, I'll be direct. Domestic distributors typically charge $2.50-4.00 per unit at wholesale tiers. We're an OEM manufacturer shipping from our facility in Jingzhou, about an hour from Shanghai port. Same certifications, same specs, different supply chain. Most of our distribution partners are paying 60-75% less than they were before switching.
One shelter network did the math: their annual microchip budget dropped from about $14,000 to under $4,000. Same ICAR-certified chips. Same scanner compatibility. The only change was cutting out intermediary markup. For a shelter running on tight margins, that's real money back into animal care.
OEM and Private Label
About 60% of what we ship goes out under someone else's brand. Custom packaging, custom documentation, your logo on everything. MOQ is 500 for standard configs, 1,000 if you want custom artwork.
We handle this pretty regularly-regional vet supply companies building their own product lines, shelter organizations that want branded chips for their adoption programs, international distributors entering new markets. The compliance documentation travels with the product either way. Your customers don't need to know where it came from; they just need it to work.
For distributors considering this route: we can run a parallel test order alongside your current supplier before you commit to switching. No risk to your existing supply chain while you validate the product.
How to Vet an OEM Supplier (Including Us)
I'll tell you what to ask, because these are the questions our serious buyers ask anyway:
First, get the ICAR manufacturer code. Look it up on icar.org. If it's not there, walk away. Ours is listed-you can verify.
Second, request a sample batch and test it with your existing scanners. Not one chip-ten or twenty. Scan them all. Any failures? Any that don't match the barcode labels? That tells you about their QC.
Third, ask about glass sourcing. "Bio-glass" is a category, not a specification. Schott 8625 is the benchmark. If they can't tell you exactly what they use, that's a red flag.
Fourth, confirm EO sterilization in writing. Ask for validation documentation if you need it for your own compliance records.
Fifth, check lead times and minimum orders against your actual usage patterns. A great price doesn't help if their MOQ is 10,000 and you need 800.
The Regulatory Angle
Worth mentioning: microchip mandates are expanding faster than most people expected. UK did dogs in 2016, added cats in June 2024. EU Parliament approved union-wide mandatory pet microchipping proposals in 2025. US CDC now requires ISO microchips for all dogs entering the country-that rule kicked in August 2024.
Australia is rolling out mandatory sheep and goat electronic ID through 2027. USDA's cattle RFID requirement went live November 2024 for interstate movement. For livestock applications, many farms are also implementing RFID ear tags alongside microchips for comprehensive tracking.

If you're building inventory for a market that's about to see mandate-driven demand spikes, better to lock in supply relationships before everyone else has the same idea. We've scaled production capacity twice in the past three years to keep up.
Something distributors in newly regulated markets often overlook: not all mandates specify the same chip dimensions, which directly affects syringe compatibility. The UK's 2024 cat microchipping requirement, for instance, doesn't restrict chip size, so both 12G and 15G delivery systems are compliant. Australia's NLIS livestock program, on the other hand, generally requires standard-size transponders that pair with 12-gauge injectable units. If you're building SKUs for multiple regulatory environments, confirming which needle-and-chip configuration each market accepts saves you from stocking inventory that technically meets ISO standards but doesn't align with local implementation guidelines.
Quick Note on Implantation Sites
Since the title mentions "how to use"-yes, the standard site is subcutaneous between the shoulder blades. But WSAVA guidelines actually recommend species-specific placement: left lateral neck for dogs and cats in continental Europe, nuchal ligament for horses, left inguinal area for larger lizards. If you're serving a diverse veterinary market or doing a lot of exotic work, we can provide species-specific instruction sheets for distribution.
One detail that comes up with distributors who supply rural or mixed-practice clinics: the microchipping needle angle matters more than people assume. For subcutaneous placement in dogs and cats, the bevel should face upward at roughly 30-45 degrees from the skin surface. Going steeper risks depositing the chip too deep into muscle tissue, where it can be harder to scan. Going too shallow, and the chip sits right under the dermis where the animal can feel it and where migration is more likely.
We include illustrated angle-guidance cards with bulk orders on request. They're sized to hang in a prep area or tuck inside a supply drawer. Not everyone needs them, but for shelters onboarding new staff or vet techs doing their first solo implants, a quick visual reference prevents the most common placement errors.
The actual injection takes seconds. Pre-loaded syringe, audible click when the chip deploys, scan to confirm. Your staff already knows how to do this. For verification, a reliable FDX-B microchip scanner is essential to ensure successful implantation.
A Note on Why I'm Writing This
Honestly? Our website gets decent traffic from people searching microchip injection guides. Most of them are pet owners looking for how-to content-not our target customer.
But some of you are procurement managers, shelter directors, or vet supply distributors trying to figure out if OEM sourcing makes sense for your operation. This page is for you.
The microchip itself is simple technology. The decision about where to source it doesn't have to be complicated either. Get samples, verify they work with your scanners, review the documentation, compare the numbers. That's it.
If you want samples to test scanner compatibility, documentation to review before committing, or just a straight answer on pricing at your volume level-reach out. We typically respond within a business day, and samples ship in about three. We also offer temperature-sensing microchips for applications requiring health monitoring capabilities.
JingZhou Syntek Smart Technology Co., Ltd - ICAR-certified animal microchip manufacturer since 2006. CE, ISO 9001, RoHS compliant. Production facility: Jingzhou, China. Shipping via Shanghai port with DHL/FedEx/TNT partnerships.
Send Inquiry